
How to make a dull knife
How to make a dull knife
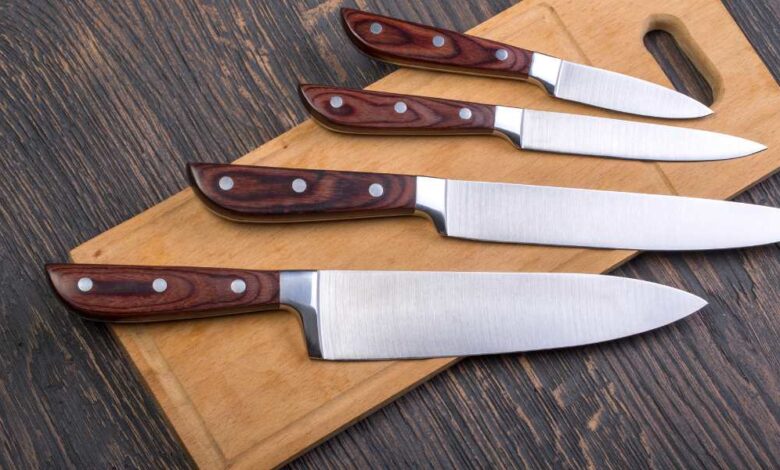
As an avid cook, you know that one of the most important tools in your kitchen is a sharp knife. A dull knife can make chopping and slicing feel like an impossible task, not to mention it can be incredibly dangerous. But what if we told you that there are times when having a dull knife might actually be beneficial?
That’s right – sometimes a dull knife can come in handy for certain tasks. But how do you make a dull knife? In this article, we’ll explore the reasons why you might want to create a blunt blade and provide some tips on how to make your own dulled-down kitchen utensil. As experts in cutlery, Henckel knives are here to guide you through this unorthodox approach to cooking.
Step 1: Soak your stone


When working with waterstones, it is essential to soak them in water for at least 45 minutes before use. If the abrasive stones are not fully saturated, they will dry out during sharpening, causing the knife blade to catch and give you nicks and dings on the edge. Soak both your stone and your stone fixer.
Step 2: Set up your station
Place your stones on a towel set over a cutting board. Keep a bowl of water nearby to keep your stone constantly moist during the sharpening process. The stone should be oriented with the short edge parallel to the edge of the counter.
Step 3: Begin the first stroke
Start with your low-grit stone. Place the heel of your knife on the far edge of the stone, holding the blade gently but firmly with both hands at a 15- to 20-degree angle. Using even pressure, slowly drag the knife down the length of the stone toward you while simultaneously moving the knife so that the contact point is toward the tip of the blade.
Step 4: Maintain the angle
Be careful to maintain a 15 to 20 degree angle as you drag the knife across the stone. Pressure should be firm, but gentle. The blade should glide smoothly over the stone as you drag. If you need help maintaining your angle, you can use an angle guide.
Step 5: Finish the stroke and repeat
Each stroke should end with the tip of the knife touching the bottom of the stone. Lift the knife, reset the heel to the top of the stone and repeat.
Step 6: Look for silty water
As you repeat the process, a thin film of water should build up on the stone and on the blade. This abrasive liquid will gradually remove material from the edge of your knife.
Step 7: Check for Burr
As you keep repeating the first strokes, eventually a small scar will form on the other side of the blade. To test this, place the blade on your thumb and pull it back. If the pit forms, it should catch a bit on your thumb (with a really fine grit stone, say 2000 or above, you won’t feel it). This can take up to 30 or 40 strokes, and is the signal to switch sides and start sharpening.
Step 8: Begin sharpening the second side
To sharpen the second side, place the heel of the blade near the base of the stone, again maintaining a 15- to 20-degree angle. Gently push the blade away from you while simultaneously dragging the tip across the stone. Read more: How to cut green onions
Step 9: Finish the second side
Your stroke should end with the tip of the blade against the top edge of the stone, still maintaining a 15- to 20-degree angle. Be sure to moisturize between strokes if your stone is dry. Repeat for as many strokes as it takes to make the initial burr.